There’s something satisfying about finishing a candle. You enjoyed the glow, the scent, the vibe. But when the wax is gone and only the jar remains, most people toss it in the bin and move on. Not you.
You’re about to unlock one of the easiest, most aesthetic bathroom organization hacks: reusing candle jars.
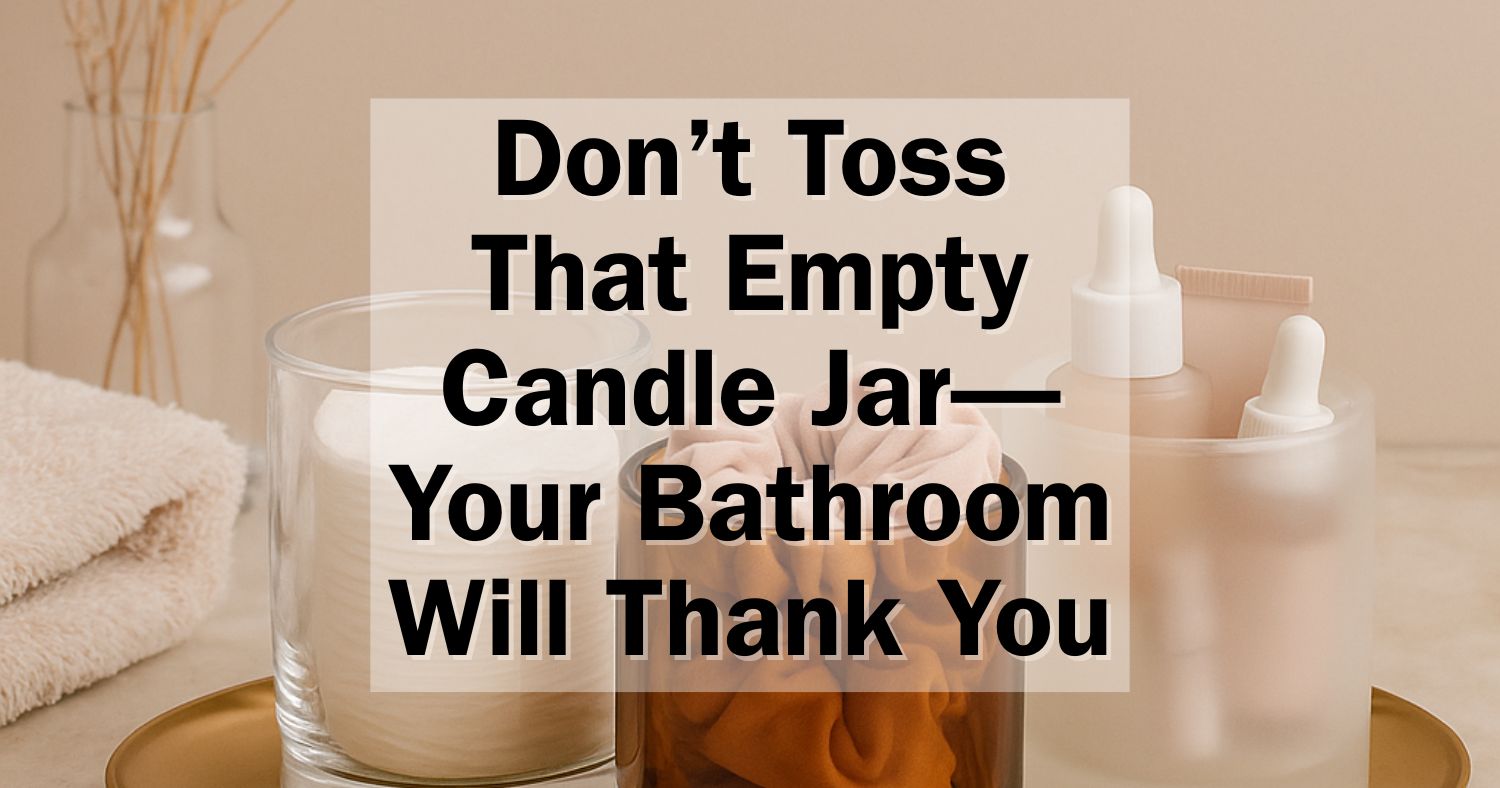
Why? Because these jars are sturdy, beautiful, and already sized perfectly for countertop items you reach for every single day—cotton rounds, Q-tips, bath salts, scrunchies, mini skincare products, and more.
This cozy-meets-clever hack stole the spotlight in our original roundup—and for good reason. Here’s how to turn your finished candles into beautiful, functional containers that upgrade your countertop without spending a dime.
Why This Works: Boutique Storage Without the Price Tag
Candle jars come in frosted glass, clear, amber, black, white ceramic, and everything in between. They already look expensive—because they were. So why not give them a second life?
When styled right, a repurposed candle jar gives your bathroom that spa-meets-Pinterest vibe—without costing a cent.
How to Clean and Prep Candle Jars for Reuse
Freeze the Jar: Put the empty jar in the freezer for a few hours. The remaining wax will harden and shrink slightly. Pop it out with a spoon.
Clean Residue: Use warm soapy water and a gentle scrub to remove soot and residue. If the label is stubborn, a mix of oil and baking soda or a little Goo Gone will do the trick.
Remove Wick Holders: Most candle jars have a metal wick clip at the bottom. Use pliers or a butter knife to gently lift it out.
Polish the Glass: Dry thoroughly, then polish with a soft cloth or microfiber towel for that clean, glossy finish.
Styling Ideas for Your New Bathroom Jars
Cotton Rounds & Q-Tips: Place side by side in matching jars. Add minimalist labels or leave them unmarked for that sleek, apothecary look.
Bath Salts or Soaking Crystals: Bonus points if you display them with a tiny scoop.
Scrunchies or Hair Ties: A wider jar works perfectly to drop in accessories you always lose.
Mini Skincare & Sample Tubes: Coral them together in a squat jar to keep your routine within reach.
Lip Balms or Single-Use Masks: Display them so they stop hiding in drawers.
Lifestyle Tips to Maximize This Hack
For Your Vanity Tray: Arrange 2–3 jars with essentials (like cotton pads, lip balm, and daily jewelry). It keeps your surface clean and your routine streamlined.
Label Like a Glow-Up Pro: Use clear sticker labels, mini chalkboard tags, or even washi tape. The goal is effortless, not overly Pinterest-y.
Add a Lid: If your jar didn’t come with one, try a silicone food saver lid, a repurposed jar lid from another container, or even a coaster.
Pair with Candles Still in Use: This creates a cohesive visual theme—current favorites beside their beautiful predecessors.
Use for Your Kids or Partner: Separate jars for each person’s essentials reduces the chaos and helps everyone stay organized.
Real Talk
You don’t need to buy a single organizer to start decluttering your bathroom—you just need to stop throwing out the ones you already own. A candle jar is more than just a pretty shell—it’s a storage solution waiting for a second chance.
With a little cleanup and a few smart styling touches, that empty candle becomes your new favorite organizing tool. And your bathroom? It’ll look better every time you walk in.
Because sometimes, your vibe—and your tools—need to roll with you.
If your day flows from work to home tasks to a quick reset moment (and maybe back again), you don’t need more space—you need smarter storage. Enter: the Rolling Mood Cart. This Pinterest-worthy hack transforms a simple tiered cart into a flexible, styled-out mobile zone that shifts with your schedule and supports your energy.
Rolling Mood Carts got a lot of love in our advanced organization roundup—and now we’re rolling out (pun intended) our favorite setups for productivity, self-care, and everything in between.
Whether you need a mobile self-care sanctuary, a work-from-home survival kit, or a late-night creative corner, mood carts let you organize by purpose—not just category—and bring that purpose with you.
Unlike static organization systems, mood carts are dynamic. They move from room to room, adapt to your routines, and keep your essentials organized without taking up much space.
They work especially well for:
Small-space living (apartments, shared homes)
Multifunctional rooms
Neurodivergent focus support
Busy moms or solopreneurs wearing many hats
Creating boundaries between work and rest zones
It’s also emotionally impactful: when your physical space reflects your current goal or mindset, it becomes easier to stay present, focused, or relaxed.
What You’ll Need
A flexible foundation you can expand or simplify:
3-tier rolling cart (metal, acrylic, wood—whatever suits your style)
Bins, jars, trays, or small baskets (to divide items by type or function)
Labels or washi tape
Small organizers for drawers, clips, or cords
Optional: LED puck lights, a mini Bluetooth speaker, or faux plant for style
Mood Cart Ideas to Try
Work Mode / Productivity Cart:
Notebooks, pens, charger cords
Timer, sticky notes, planner
Blue light glasses, hydration bottle
Motivation quote or mini whiteboard
Self-Care / Glow-Up Cart:
Skincare essentials, gua sha, face masks
Herbal tea, a book, cozy socks
Candles or diffuser
Journal + favorite pens
Creative Mode Cart:
Art supplies, camera gear, paint pens
Inspiration printouts, headphones
iPad, stand, and chargers
Mom Mode Cart:
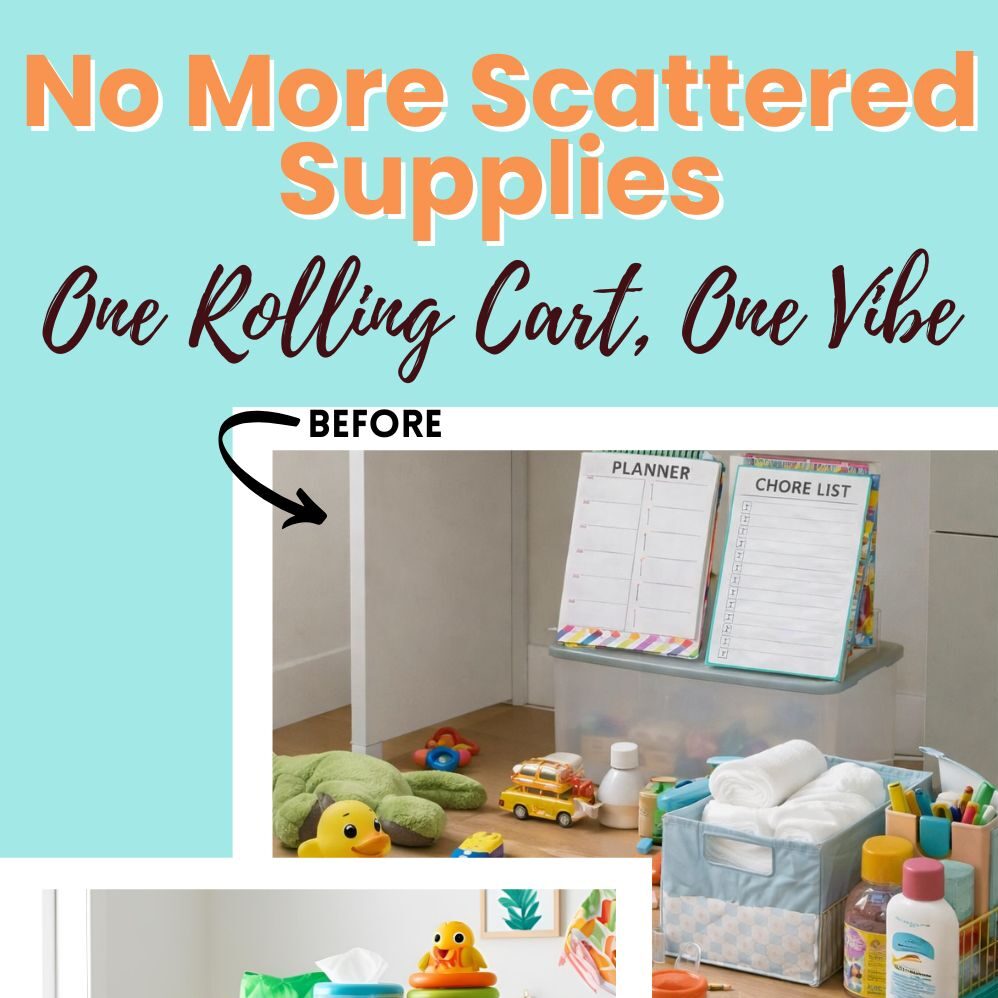
Diapers, wipes, snacks, toys
Planner, chore list, kid’s school forms
Quick-clean essentials
Weekend Wind-Down Cart:
Wine glass, blanket, crossword book
Nail kit, affirmations, chill playlist QR code
How to Set It Up Step-by-Step
The easiest way to go from thinking to doing:
Step 1: Choose Your Focus
What kind of cart do you need right now? Productivity? Self-care? Pick one zone to build first.
Step 2: Gather Supplies
Collect everything you regularly reach for in that mode. Don’t overthink it—if you use it often, it belongs in the cart.
Step 3: Create Zones by Shelf
Top shelf = daily go-to items
Middle shelf = occasional use or overflow
Bottom shelf = extras, backups, or seasonal
Step 4: Use Containers to Divide
Add small bins or trays so items stay sorted. Bonus if they match your color scheme.
Step 5: Label or Color-Code
Add minimalist labels or washi tape color indicators so you know what’s what at a glance.
Step 6: Style It Up
This isn’t a junk cart—add visual joy. A cute cup for pens, a framed mini print, a coordinated color theme.
Step 7: Park It or Roll It
Keep it near your workspace or roll it wherever you’re spending time. That’s the beauty of it—it adapts to you.
Styling Tips to Elevate the Look
Choose a neutral-toned cart or one that matches your vibe (blush, sage, matte black)
Use clear containers for a clean, uniform look
Add a small hook on the side for a bag or headphones
Include a small LED light for mood and function
Why This Hack Is Next-Level
Mood carts are about more than organizing—they’re about supporting your energy. When everything you need is in one mobile zone, you cut decision fatigue and streamline your habits.
No more hunting for your journal. No more digging for your charger. Just one cart, one purpose, and a moment of peace (or power).
And the best part? When life changes, your cart can too.
Mood Cart Must-Haves
We’ve gathered the trays, bins, and accessories that make setting up your rolling cart quick and customizable. Just load, roll, and reset as needed.
Need extra space that moves with you? A mobile cart is perfect for everything from work supplies to self-care staples. Here are the essentials to help you build a cart that supports your day, wherever it takes you.
If you need an easy way to organize your supplies and move them around, this cart works well for most home and office needs.
Pros
Moves smoothly over carpet and tile
Simple to put together without extra tools
Extra hooks and cups add to the storage
Cons
Not built for heavy-duty items
The baskets are a little shallow for big objects
Plastic might feel a bit lightweight for some users
I put this cart together in about 20 minutes and didn’t need much help from the instructions. All the hardware and tools you need come right in the box. Even if you’re not used to building things, you’ll find it simple.
Rolling the cart feels effortless, even when it’s full of art supplies or books. Two of the wheels lock, so you don’t have to worry about it drifting away. The extra cups and hooks are handy for items you use all the time, like pens or scissors.
If you mostly need to organize light to medium-weight items, you will probably find this cart helpful. The baskets aren’t deep, but there is plenty of room for most craft materials, snacks, or small kitchen gadgets.
This cart is a good pick if you want something roomy, easy to move, and handy for organizing many types of supplies.
Pros
Holds a lot without taking much floor space
Moves smoothly and locks in place easily
Extra hooks and pockets help with keeping things neat
Cons
The metal can feel a bit flimsy in some spots
Baskets might arrive with small dents or scratches
Mesh trays aren’t perfectly flat
Your things will find a home in the DTK mobile cart. I fit notebooks, art supplies, and snacks with no problem, using the top shelf for quick grab items and the side bag for hidden clutter. The deep trays keep small things from falling out, so you won’t chase items around your room.
Assembly took me about twenty minutes with the tool that came in the box. The instructions were clear, and the extra screws helped me feel prepared. While the metal is not the thickest, it did the job for my light and medium-weight items.
The smooth-rolling wheels made it easy to push from my kitchen to the living room. Locking the wheels kept the cart steady while I worked. Overall, this DTK cart is great if you’re seeking affordable, flexible storage with a few minor blemishes.
If you need a strong and handy cart for home or office, this one does the job well.
Pros
Feels very sturdy even when filled with heavy things
Rolls and turns smoothly on most surfaces
Setup takes less than 20 minutes
Cons
Metal baskets make it see-through, so small things might fall out
Assembly needs some effort with tools
Bigger items might not fit on lower levels
When I put the YASONIC cart together, it took less than 20 minutes with the instructions. The metal frame feels tough, and the baskets hold books, snacks, and cleaning supplies with no problem. I liked that the wheels glide over carpet and tile without sticking.
You get three baskets, plus hanging cups and hooks that help with extra storage needs like pens or cables. Using the cart around the house, I was able to move it from kitchen to office without struggling.
You should know the baskets aren’t completely closed off, so tiny items can slip through the mesh. For most everyday things, though, this cart keeps everything organized and easy to move.
This folding cart is a solid pick if you want something you can move around easily and store without hassle.
Pros
Folds down quickly for storage in tight spaces
Feels light to push, even when loaded
Handle grips feel comfortable in your hands
Cons
Wheels can get stuck on thick carpet
Weight limit means you can’t haul really heavy items
Shelves don’t have sides, so small things may slide off
Using this cart, you’ll notice right away that it doesn’t take much effort to open or close. You can roll it through narrow hallways or busy rooms, then fold it up and tuck it behind a door or in the trunk of your car when you don’t need it.
The handles are easy to hold. I’ve pushed it for a while without feeling sore wrists or achy fingers. It’s handy for carrying groceries, small tools, or bins, and you have three shelves to spread things out.
Keep in mind you can’t overload it, and if you roll over carpet or uneven floors, the wheels might snag a little. If you want a cart that’s easy to bring out, load up, and put right back away, this one is worth a look.
If you need a reliable rolling cart for technology and supplies, this one is a solid choice because it holds a lot and moves smoothly.
Pros
Wheels roll easily across rooms
Shelves adjust for different needs
Power strip makes charging devices simple
Cons
The cart is mostly plastic, not metal
Some people will need tools for assembly
Power strip is only for US plugs
Moving this cart from classroom to office is simple thanks to its sturdy handle and four caster wheels. You can load it up with equipment or supplies, and it still maneuvers without trouble. The built-in power strip is handy for charging laptops or projectors right on the cart.
You get three shelves that adjust quickly, so you can set it up to fit big or small items. It holds up to daily bumps and is easy to wipe clean if spills happen. If you switch locations or storage needs change, it’s easy to reconfigure.
Assembly only took about fifteen minutes, but you may want a mallet for snapping the parts in place. If you need a plug that isn’t US standard, keep in mind that the included power strip may not work for you. Overall, it’s great for anyone needing portable storage with charging options.
Buying Guide
When choosing a mobile cart, think first about what you plan to use it for. Make a list of tasks to help you know what size and features you need.
Key Features to Look For:
Shelves or Drawers: More shelves or drawers mean more storage.
Material: Metal is sturdy. Plastic is lighter. Wood looks warmer.
Wheels: Check if wheels lock, roll smoothly, and if all four wheels turn.
Weight Limit: Make sure it can hold what you plan to carry.
Feature
Why it Matters
Size
Fits your space
Weight limit
Holds your supplies
Material
Affects strength
Wheels
Makes it easy to move
Test the handle to see if it feels strong. Some carts include handles for easy pushing.
Check how easy it is to put the cart together. Some come with instructions or tools in the box.
Think about if you will use it indoors or outdoors. Some carts are better at handling rain or sun than others.
Choose a cart that matches your daily needs and tasks.
I’ve spent over 15 years chasing success. For the first decade, I stumbled through trial and error. The last five years, though, have been about building, growing, and helping others do the same. Through coaching countless entrepreneurs and high performers, I’ve learned something simple but brutal: most people don’t fail because they lack talent or opportunity. They fail because they can’t focus.
Whether it’s staying present in the daily grind or keeping your eyes on a bigger vision, focus is the foundation. In this guide, I’ll walk you through how I trained my mind to focus, without relying on pills or hacks that fade fast. We’ll cover the mindset, the physical side, and the daily systems that make it possible.
You can’t stay focused if you don’t know why you’re focusing. Start by defining the destination. What’s the goal behind the work? What’s the bigger vision that drives you?
Write it down. Clarity turns decision-making into something simple: if it aligns with your vision, you do it. If it doesn’t, you don’t. That single shift will save you from a lot of mental noise.
If you want to get more from your life, and are looking for concrete action steps to get you there, check out our Request a Coach page. It’s a “cut the fence-sitting and take action” way to tackle your issues and actually find success.
To get off the fence and start to take action, click or tap here.
Step 2: Dump Your Weekly To-Dos on Paper
A scattered mind comes from a scattered plan. Write out everything you think you need to do this week. Don’t worry about the order yet, just get it out of your head and onto paper or a spreadsheet. This step alone will give your brain some breathing room.
Step 3: Sort by Real Priority
Once everything’s in front of you, sort the list. What matters most? Rank tasks based on their actual impact, not how urgent they feel in the moment.
High priority means it significantly moves something forward or prevents something from falling apart. Low priority? That can wait. The goal here is to make sure your time goes to what actually matters.
Step 4: Estimate How Long It’ll Take
Next to each task, jot down a realistic time estimate. You don’t have to get it perfect, this is just to build awareness. Over time, your estimates will get sharper, and that will help you plan your days with precision.
If you want to get more from your life, and are looking for concrete action steps to get you there, check out our Request a Coach page. It’s a “cut the fence-sitting and take action” way to tackle your issues and actually find success.
To get off the fence and start to take action, click or tap here.
Create a simple daily grid broken into 30-minute blocks from the time you wake up to the time you wind down. Then, plug in your top-priority tasks first. Fill the rest of your day around them.
This is how you move from a reactive day to a structured one. It’s not about being robotic; it’s about protecting your mental bandwidth.
Step 6: Use a Timer to Get in the Zone
Download a focus timer on your computer, not your phone. Your phone is a distraction machine.
Set the timer for the amount of time you can actually stay on task before your mind starts wandering. For most people, that’s around 15 minutes when they start.
When the timer runs, you work. When it stops, you rest. No negotiations.
During breaks, do whatever resets your brain. I like push-ups or squats because it keeps my energy up. But if you need to stare at the wall or doom-scroll for five minutes, that’s fine. The key is strict separation between work and rest.
Step 7: Four Rounds, Then a Big Break
If you want to get more from your life, and are looking for concrete action steps to get you there, check out our Request a Coach page. It’s a “cut the fence-sitting and take action” way to tackle your issues and actually find success.
To get off the fence and start to take action, click or tap here.
Run four work blocks back to back. For example, four 15-minute sessions with short 3- to 4-minute breaks in between. After the fourth round, take a longer break, about two-thirds the length of your total work time.
As your focus muscles get stronger, those blocks can grow. I personally work best in 1-hour blocks followed by 15-minute breaks. But I started at 15 minutes. Progress beats perfection.
Step 8: Track Your Wins (and Misses)
After each session, quickly reflect. Did you stay focused the whole time? Did it fall apart halfway through? Color-code or mark each task:
Green: Done on time
Yellow: Done but took longer
Red: Didn’t finish
This simple tracking habit reveals patterns fast. You’ll learn how long things actually take, how much you can realistically handle, and when to say “no” to more.
This isn’t about perfection. It’s about gradual, consistent progress. Over time, the length and quality of your focused work will surprise you.
If you want to get more from your life, and are looking for concrete action steps to get you there, check out our Request a Coach page. It’s a “cut the fence-sitting and take action” way to tackle your issues and actually find success.
To get off the fence and start to take action, click or tap here.
Your biology is either your ally or your enemy. To make it work for you:
Sleep: Go to bed at the same time. Set a bedtime alarm, not just a morning one.
Stimulants: Be consistent with coffee or whatever you use. Track it. Predictability equals stable performance.
Food: Keep your eating routine steady, especially on workdays.
Why does this matter? Because your body’s rhythm sets the tone for your mind. People in highly structured environments, like prison, often build incredible discipline because their routines are locked in. You can create your own version of that structure without the bars.
Why This Method Works
Focus isn’t something you’re born with, it’s something you train. We live in the most distracted era in history. ADHD diagnoses have skyrocketed not because everyone suddenly developed attention issues, but because modern life is engineered to pull your attention in every direction.
This system works because it trains your brain the way you’d train your muscles. Short, focused bursts. Clear structure. Real breaks. Consistency over chaos.
If you give it a few weeks, you’ll see the difference, not just in how much you get done, but in how much calmer your mind feels.
If you want to get more from your life, and are looking for concrete action steps to get you there, check out our Request a Coach page. It’s a “cut the fence-sitting and take action” way to tackle your issues and actually find success.
To get off the fence and start to take action, click or tap here.
If you want to get more from your life, and are looking for concrete action steps to get you there, check out our Request a Coach page. It’s a “cut the fence-sitting and take action” way to tackle your issues and actually find success.
To get off the fence and start to take action, click or tap here.