
Are you all about style, decor and organization? Download a copy of our Decluttering Workbook.
*****
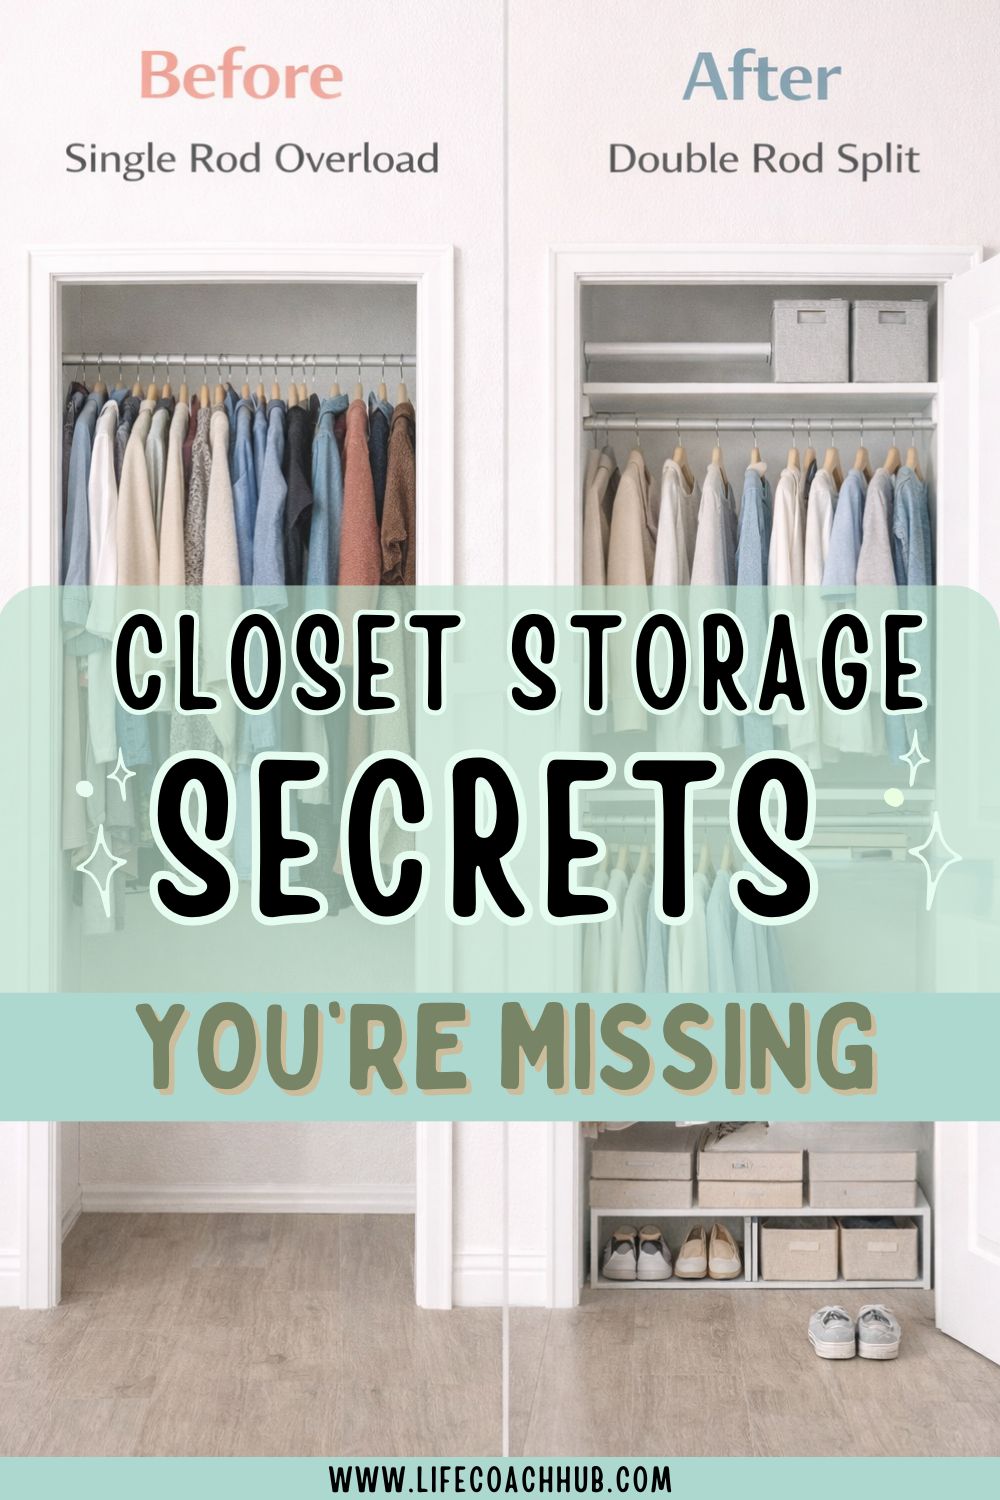
A very small closet doesn’t fail because it’s tiny. It fails because everything inside it is competing for the same few inches of space.
Shoes slide under dresses. Sweaters stack too high. Bags hang wherever they fit. Before long, the closet feels stuffed even when it’s technically not full.
The Zone Method fixes this by dividing your closet into four clearly defined areas: Hanging Zone, Shelf Zone, Floor Zone, and Door Zone. When every item belongs to one zone only, clutter stops multiplying and the layout starts working for you.
Below is a step-by-step layout plan to reset your closet using zones instead of guesswork.
Need some in depth help with organization and productivity ? Drop on by our directories choc full of productivity coaches, minimalist coaches, and work/life balance coaches to get your life organized! Or click here to have us match you to the best.
Step 1: Clear and Measure Before Creating Zones

Before assigning zones, you need to understand the exact space you’re working with. Even small differences in height and depth will determine what each zone can handle.
Start by emptying the closet completely so you can see the raw structure.
Measure your full interior space: Record the total height, width, and depth of the closet, including rod height, shelf spacing, and floor clearance so you can design zones that fit realistically.
Sort your clothing by type before returning anything: Group long-hang items, short-hang items, folded pieces, shoes, and accessories separately so you can visually match categories to zones instead of forcing them in randomly.
Once you see both your measurements and your clothing volume, the zone assignments become obvious instead of overwhelming.
Step 2: Design the Hanging Zone
The Hanging Zone is the backbone of a small closet. It handles wrinkle-prone clothing and anything that benefits from vertical space.
The goal is efficiency, not just convenience.
Divide hanging space by garment length: Create a long-hang section for dresses and coats, and if possible, add a double-rod section for shirts and shorter items so you use vertical height instead of wasting it.
Place daily-use items at eye level: Keep the most frequently worn clothing on the lower rod or center area so you’re not reaching overhead or digging behind longer pieces every morning.
When designed correctly, the Hanging Zone prevents overcrowding and stops clothing from cascading into the floor area.
Step 3: Define the Shelf Zone
Shelves are often where small closets spiral out of control. Stacks get taller. Piles collapse. Categories mix together.
The Shelf Zone needs structure.
Limit fold stacks to manageable heights: Keep folded clothing stacks under 10 inches tall so they stay upright and visible instead of turning into unstable towers.
Create mini-subzones using dividers or bins: Separate sweaters, denim, workout wear, and small bags into distinct sections so categories don’t blur together over time.
A controlled Shelf Zone protects bulkier items from creeping onto rods where they stretch and crowd lighter garments.
Step 4: Activate the Floor Zone (Without Creating a Pile)

The floor should never be the “miscellaneous” area. In a small closet, the floor must function like a low-level storage shelf.
Without structure, it becomes clutter central.
Install a low-profile shoe rack or tiered stand: Elevate shoes off the ground so pairs stay visible and organized rather than stacking unevenly.
Use clear, stackable bins for seasonal or rarely used items: Store off-season accessories or special-occasion pieces in contained boxes so nothing sits loose on the floor.
The rule is simple: nothing directly touches the closet floor unless it has a designated container or rack.
Step 5: Maximize the Door Zone

The back of the closet door is often ignored, but it’s one of the most powerful vertical zones in a tiny space.
Think of it as bonus storage.
Install over-the-door organizers or hooks: Use hanging organizers for accessories, belts, scarves, or smaller items that don’t need deep shelving.
Keep this zone for lightweight, frequently accessed items: Assign jewelry, hats, or daily-use extras here so they don’t crowd shelf or rod space.
When the Door Zone is active, it relieves pressure from every other section of the closet.
How to Assign Clothing Categories to the Right Zone
Now that your zones exist, the next step is mapping items intentionally so they stay organized long term.
Without clear category placement, even defined zones can get overloaded.
Match bulk to shelves and length to rods: Store bulky sweaters and denim on shelves, long garments on tall rod sections, and shorter daily tops in double-hang areas to maximize efficiency.
Give each item one permanent home: Avoid allowing items to float between zones; if something doesn’t clearly belong in a zone, reconsider whether it should remain in the closet at all.
The “one zone per item” rule prevents drift and eliminates the daily reshuffling that causes clutter fatigue.
How to Maintain the Zone Method in 10 Minutes a Month
A layout works only if it’s maintained. Fortunately, the Zone Method makes upkeep simple because you’re reviewing sections, not individual pieces.
Set aside a short reset time each month.
Check each zone for overflow: Scan hanging rods for crowding, shelves for leaning stacks, and floor areas for loose items so you can correct small issues before they grow.
Remove items that no longer fit a zone: If an item consistently disrupts a zone’s structure, edit it out rather than forcing it back into the system.
When zones stay defined, your closet feels controlled — even if it’s very small.
The Zone Method doesn’t require a bigger closet. It requires clearer boundaries.
When hanging, shelf, floor, and door areas each have a specific role, your closet stops feeling cramped and starts functioning like a layout designed on purpose.
Are you all about style, decor and organization? Download a copy of our Decluttering Workbook.
*****
Need some in depth help with organization and productivity ? Drop on by our directories choc full of productivity coaches, minimalist coaches, and work/life balance coaches to get your life organized! Or click here to have us match you to the best.
The post The “Zone Method” for Very Small Closets (Step-by-Step Layout Plan) appeared first on Life Coach Hub.
Leave a Reply