
Are you all about style, decor and organization? Download a copy of our Decluttering Workbook.
*****
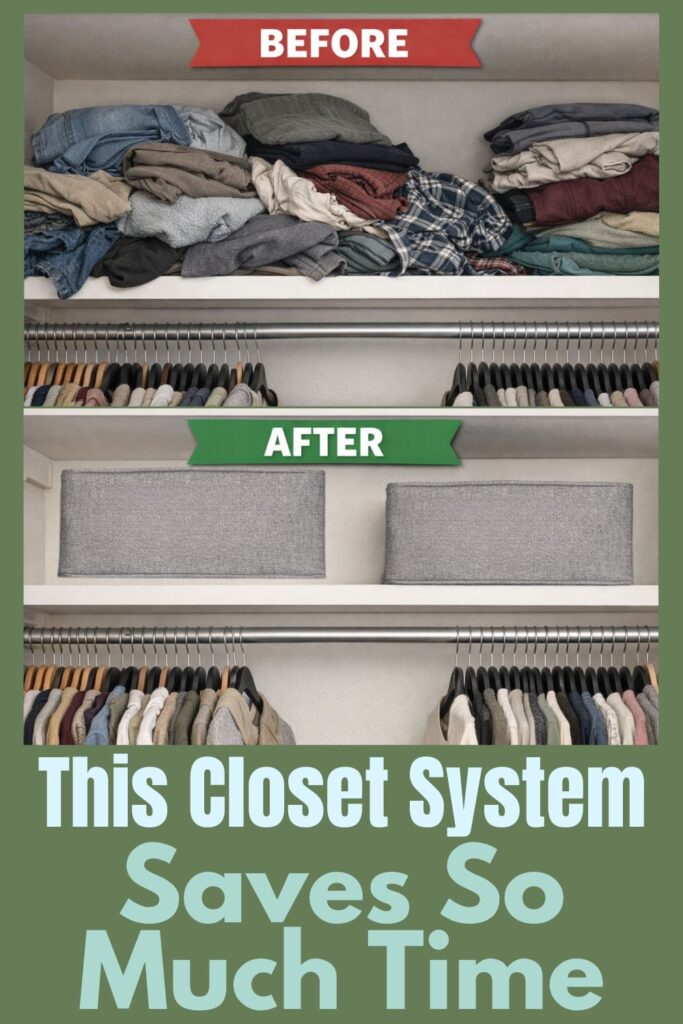
If your small closet feels stuffed, hard to manage, and visually overwhelming, the issue may not be storage — it may be volume.
The Capsule Compression Method is not about extreme minimalism. It’s about physically shrinking your active wardrobe to match the space you actually have. Instead of forcing more hangers onto a crowded rod, you compress your daily wardrobe into a defined, breathable limit.
The result? Easier mornings, less visual noise, and a closet that finally feels like it fits the room.
Below is a step-by-step guide to compressing your wardrobe intentionally — without regret or panic purging.
Need some in depth help with organization and productivity ? Drop on by our directories choc full of productivity coaches, minimalist coaches, and work/life balance coaches to get your life organized! Or click here to have us match you to the best.
1. Start With a Hanger Count Reality Check

Before you shrink anything, you need a clear starting point. Most people underestimate how much is actually hanging in their closet.
Count your current hangers: Remove everything from your main rod and count each hanger. This gives you a measurable baseline. Take a photo of the “before” state so you can compare later.
Clear the rod completely before rebuilding: Do not sort while items are still hanging. An empty rod forces you to rebuild intentionally instead of adjusting around old clutter.
This number is your starting volume. Compression begins with clarity.
2. Set Your Closet’s Physical Capacity

Your closet has a limit. The rod width determines how many items can hang comfortably without crowding.
Measure your rod width: Use a measuring tape to calculate the usable inches across your closet rod. Divide that number by 1.25 to 1.5 inches per hanger to estimate a comfortable capacity.
Choose a firm hanger cap: If your rod measures 48 inches wide, you may land around 32–38 items. Pick a number within that range and commit to it as your new maximum. This is your compression boundary.
When hangers can slide easily without friction, you are within capacity. If they’re tight, you’ve exceeded it.
3. Build Your Core Capsule First

Now you rebuild — but selectively.
The goal is to hang only your most worn, most versatile pieces first.
Pull your daily drivers first: Choose the clothes you reach for weekly — workwear, jeans, everyday tops, go-to layers. Place those back on the rod before considering anything else.
Stop when you hit your hanger cap: As soon as you reach your chosen number, stop adding. Everything remaining automatically becomes secondary storage, even if you like it.
This isn’t about favorites. It’s about frequency of wear.
Your rod should look intentionally spaced — not full.
4. Create a Defined Overflow Zone
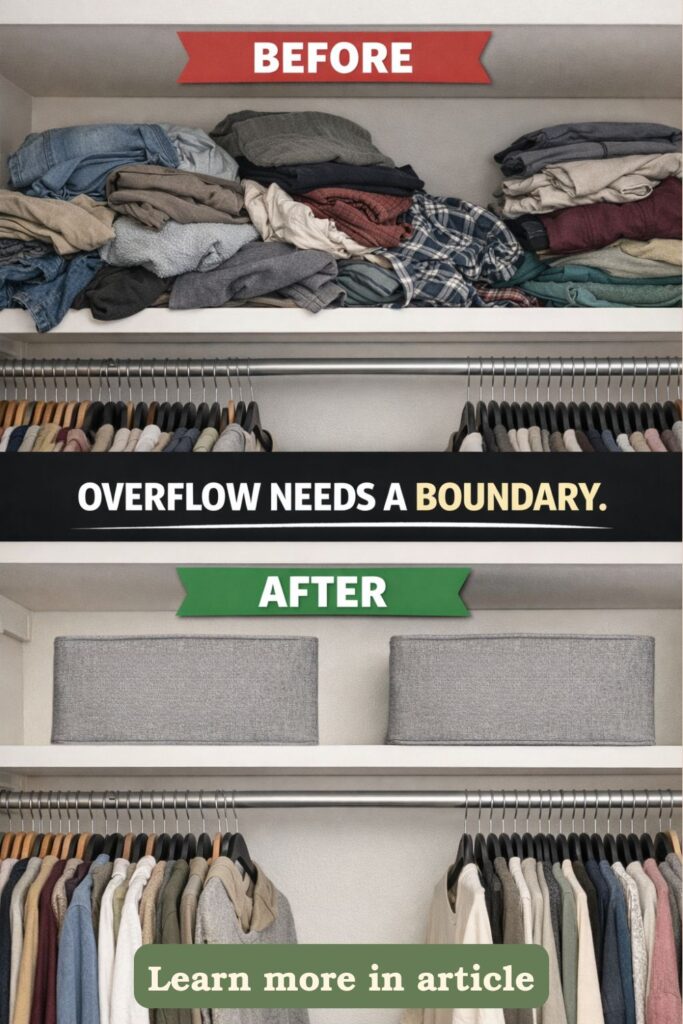
Compression fails when overflow has no boundary.
You need one clearly defined secondary area.
Designate one limited overflow space: Choose one shelf, one bin, or one small section for rarely worn pieces. Keep it physically separate from your main rod.
Enforce a one-in, one-out rule within overflow: If the overflow space fills up, something must leave before something new enters. This keeps compression intact over time.
Overflow is not an extension of your main closet. It is a holding zone with limits.
5. Standardize Your Hangers for Visual Compression
Visual clutter exaggerates physical clutter.
Even the same number of items can look chaotic if hanger styles are mixed.
Switch to one hanger style and thickness: Uniform hangers create visual calm and allow more accurate spacing. Slim hangers often free up inches instantly.
Space items intentionally rather than packing tightly: Group similar items together and leave subtle breathing room between categories. The goal is air, not density.
Air space is what makes a small closet feel larger — even when the square footage hasn’t changed.
How to Rotate Seasons Without Expanding

Compression doesn’t mean ignoring seasonal needs. It means swapping, not stacking.
Rotate items instead of increasing your hanger count: When the season changes, remove 5–10 items at a time and replace them with seasonal pieces. Keep the total number of hangers the same.
Store off-season clothing fully out of sight: Use bins, vacuum bags, or a secondary closet if available. Do not allow seasonal layering to increase your rod capacity.
Your hanger cap never changes — only the contents rotate.
When to Add Storage — and When Not To
It can be tempting to add shelves, rods, or organizers immediately. But expansion should only happen after compression.
Evaluate vertical space only after reducing volume: If you’ve compressed to your hanger cap and still lack function, then consider adding a second rod or upper shelf.
Avoid adding storage to avoid decision-making: More bins won’t solve overcrowding if you haven’t reduced active volume first. Compression must come before expansion.
Storage supports structure. It does not replace it.
The Capsule Compression Shift
A 100-hanger closet feels chaotic because it exceeds its natural limits.
A 40-hanger closet feels intentional because it fits its boundaries.
The space didn’t grow.
The volume shrank.
When your wardrobe matches your closet’s capacity, the room feels lighter — and your mornings feel simpler.
Are you all about style, decor and organization? Download a copy of our Decluttering Workbook.
*****
Need some in depth help with organization and productivity ? Drop on by our directories choc full of productivity coaches, minimalist coaches, and work/life balance coaches to get your life organized! Or click here to have us match you to the best.
The post The Small Closet “Capsule Compression” Method appeared first on Life Coach Hub.
Leave a Reply